
I spent years struggling with the lack of space in my tiny separate loo and bathroom. Until finally I knocked the wall down…
So, British people fall into one of two categories. Those who prefer to keep their toileting strictly separate from the rest of their morning ablutions. And those who see the WC is an integral part of the bathroom. They’re the ones brushing their teeth perched on the loo and running the bath at the same time. Surveys suggest the French and Japanese like having a separate space to do their business. For Americans combining the two is the cultural norm. But us Brits just can’t make our minds up, with the porcelain throne still hidden modestly behind a separate door in many homes.
Me? I was well and truly in camp ‘Separate’. Although long tempted to knock through the wall dividing my WC from the poky next-door bathroom, something always held me back. Never mind there was barely enough room for the snug 1500mm bath and ‘compact’ shower cubicle I’d squeezed in (insisting I needed both). For years I lavished those two little rooms with love, going Art Deco in the bathroom and wallpapering the loo on an almost annual basis.


Until, finally, last year, I cracked. Enough of knocking my elbows on the sides of the shower or perching on the bath to do my make-up! There had to be a better use of this space! I called up a builder. The wall had to go…
Still, without the benefit of 3D imaging or paying for a professional design, it was hard to picture what my new bathroom could look like. Measuring along the outside wall I tried to visualise, spending hours drawing potential layouts then scribbling them out again. It took months of doodling before I hit on a solution and the design fell into place. ‘It should work,’ said the salesman when I finally ventured into a bathroom showroom.


And fortunately I somehow think it has. Because I’m now the happy owner of one beautiful, bright and surprisingly spacious new bathroom.
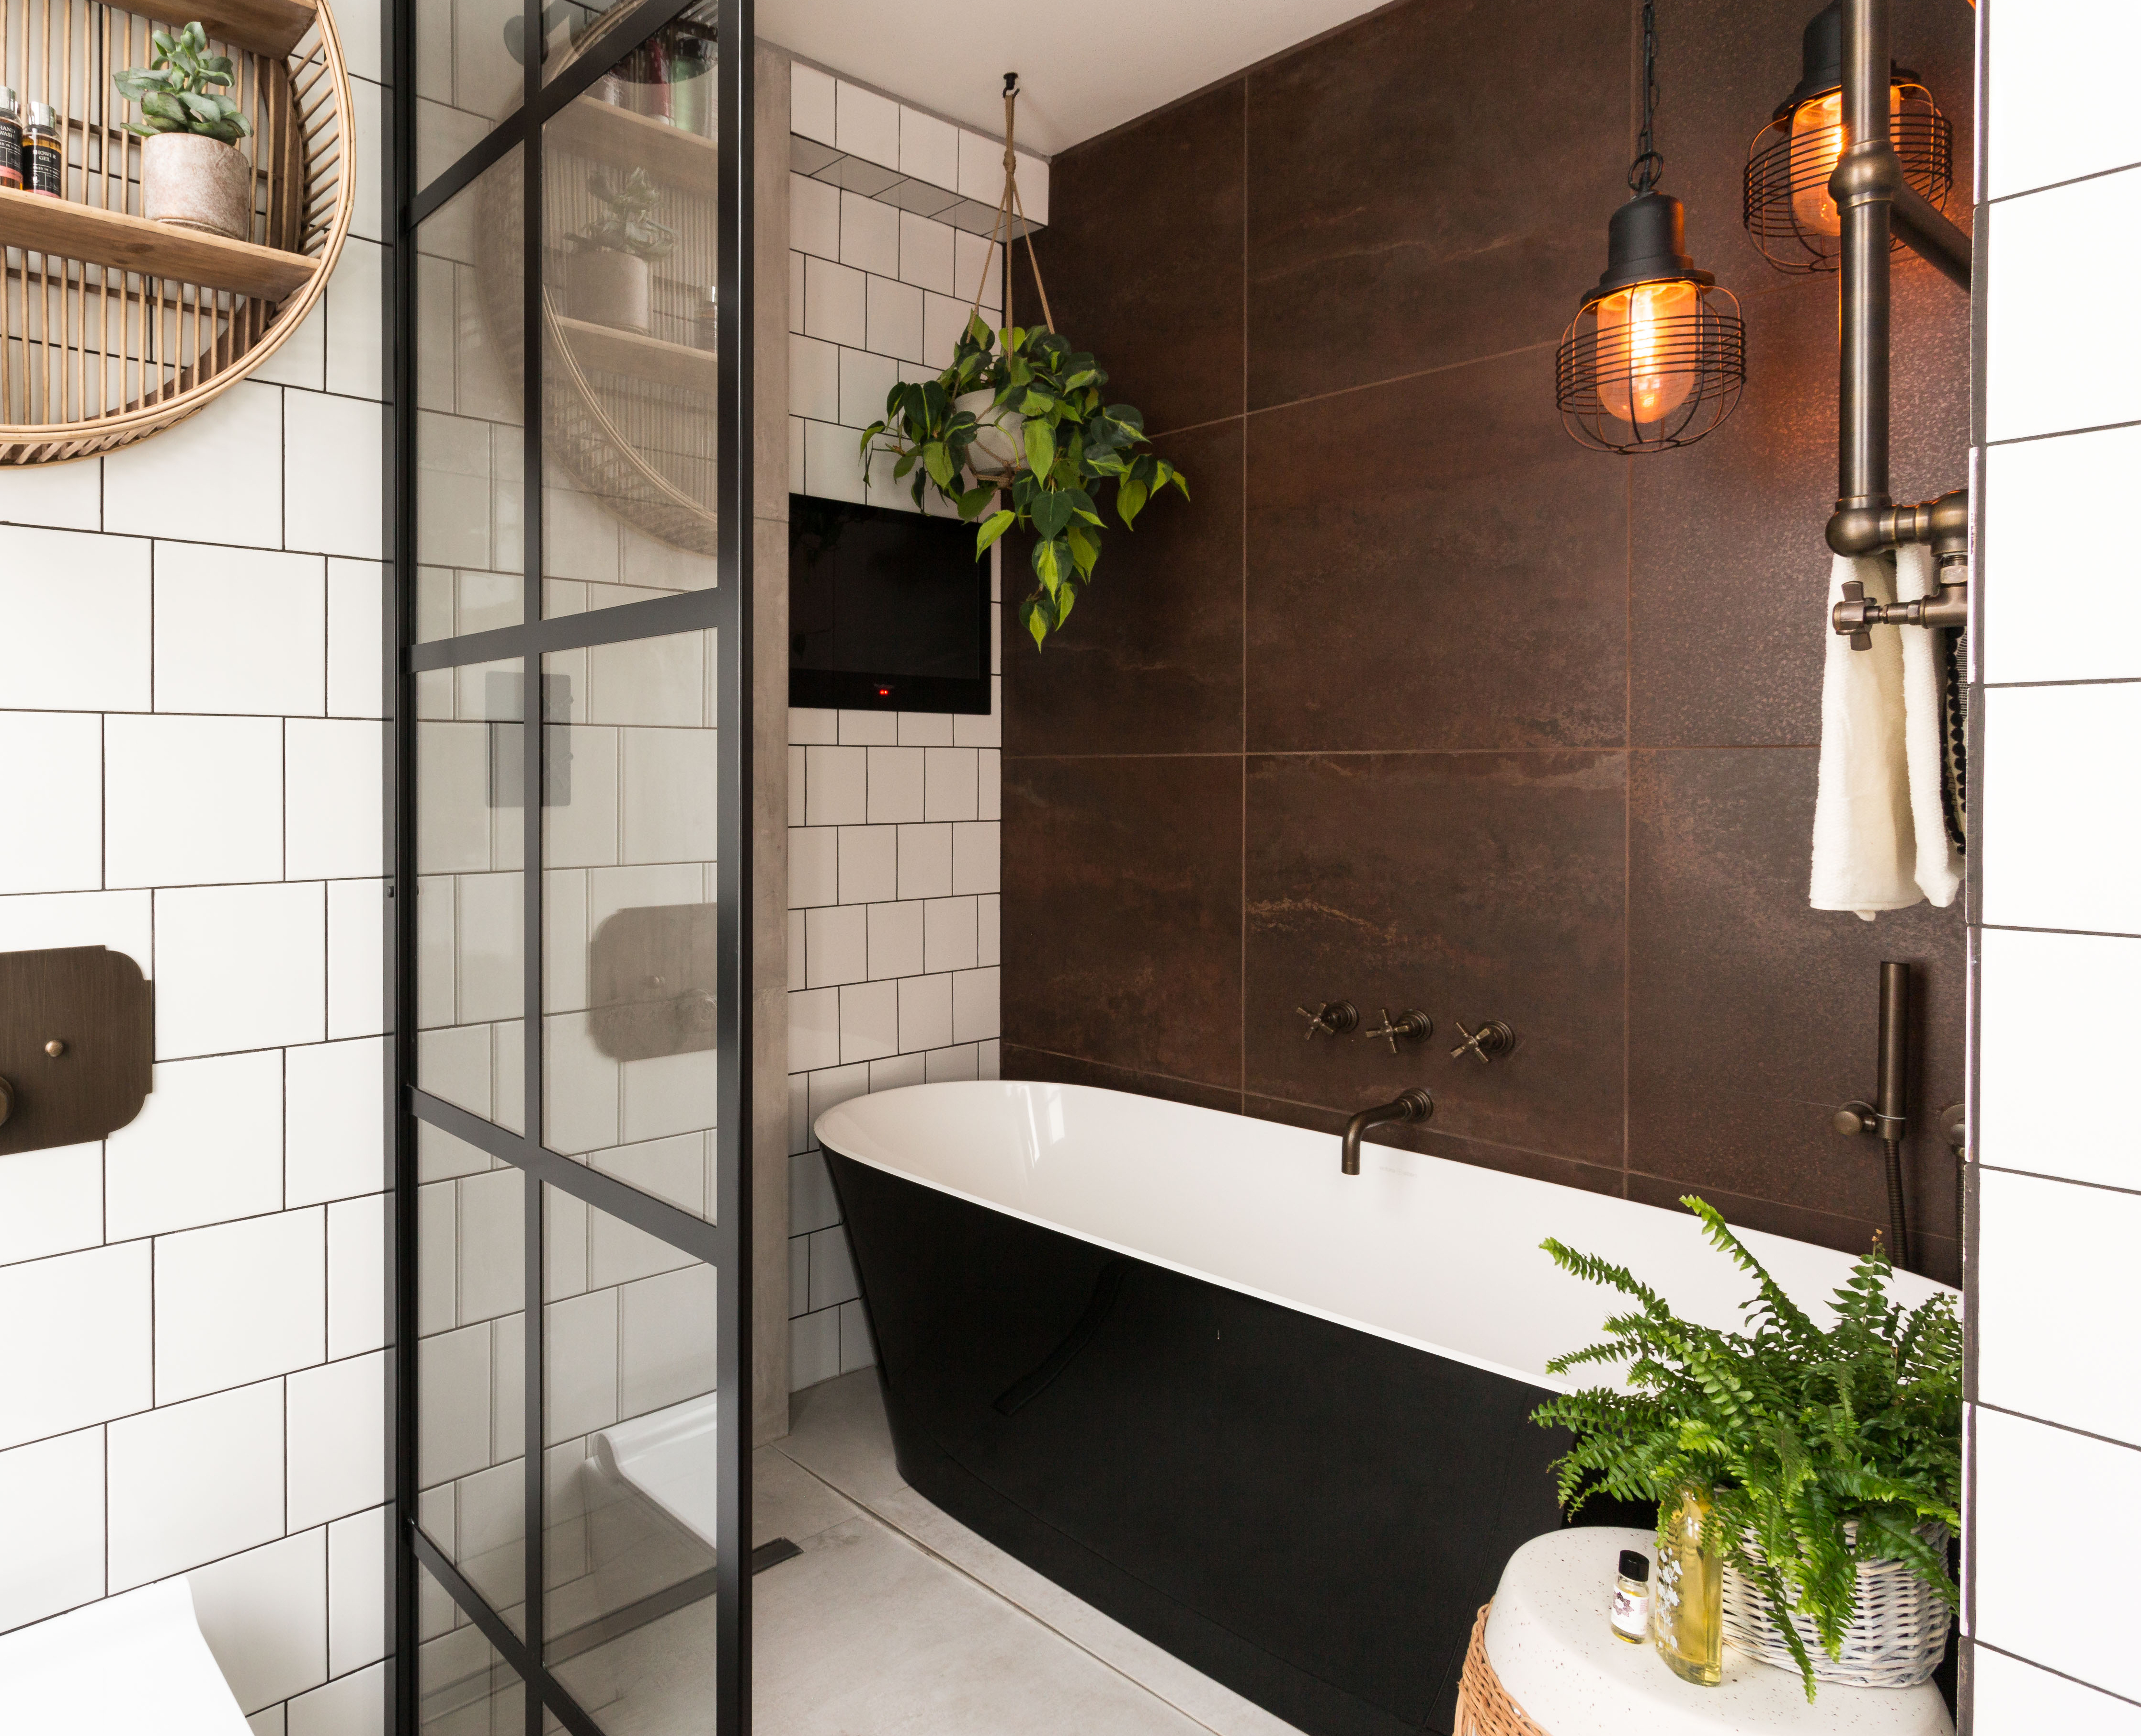
My new bathroom
What was the key to making it work? What lessons did I learn about maximising space in a small compact bathroom? I can narrow it down to eight key decisions…
- The Doors. Which door you choose to lose will make a big difference to the layout…so choose carefully! Also, if your remaining door opens inwards, try to rehang it so it opens outwards.
- The Beam. The wall I had to demolish was load bearing so needed replacing with a steel beam. To hide it within the ceiling was very expensive, so my builder simply boxed it in and plastered over. It slashed costs and, although you can see where the wall used to be, the beam actually makes a lovely feature, adding character. Plus its perfect for a hanging basket!
The beam’s a great place to hang a plant!
- The Toilet. Don’t be afraid to move the loo! Many plumbers (and most builders) will warn you off moving the toilet with talk of soil pipes. Mine did 🙂 But as long as you’re not moving it too far, and keeping it on or near the outside wall, it should be relatively straightforward, without busting your budget. Moving the loo was the key to my whole room. I didn’t want it to be the first thing you saw when you walked into the bathroom. So I moved it along the wall and turned it round 90 degrees, building out my awkward angled corner wall (see sketch above!) so it could be hung straight. I also chose a short projection toilet – there’s loads of good designs available. I honestly don’t notice the difference.
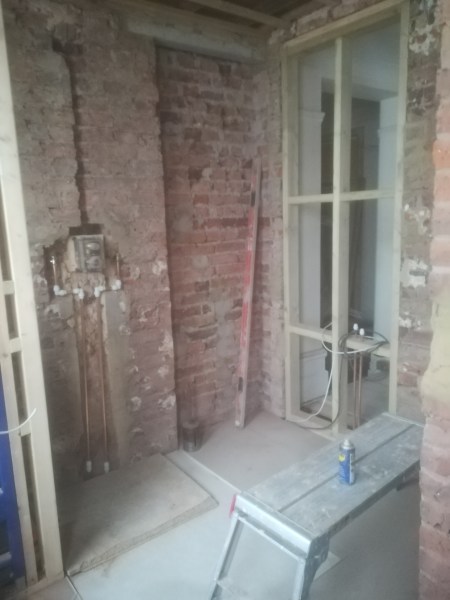
With building work underway the old bathroom door is closed up to make room for a new bath.
- The Bath. I’m a bath girl and after 15 years squashing into my tiny tub I was determined to squeeze in a bigger model. A 1700mm-long bath was out of the question but, annoyingly, I was just a few millimetres short of having room for a 1650mm model. So – and I definitely wouldn’t advise this! – I ordered it anyway. My builder made it fit, just like I knew he would 🙂 Don’t forget that in older properties the walls are often so thick you’ve got more room to play with than the tape-measure might suggest. My builder had to remove a row of bricks at one end of the bath, but that left more than enough room. And the little alcove he created makes another lovely feature! Meanwhile the bath I chose has a narrow rim, so 1650mm gives me plenty of room. I chose a gloss finish, which bounces extra light around.

The glossy black freestanding bath fits into the space like a glove
- The Shower. The obvious solution to squeezing in a separate bath and shower was to tank that mother and make it a wet room. I did briefly toy with the random idea of having a huge enclosed shower and putting a bath inside it, but in the end swallowed the extra cost and went for the wet room. Underfloor heating is a no-brainer in a small bathroom anyway so the main additional outlay is for tanking kit, drain and labour. But the result is a whole different showering experience and a room that feels open.
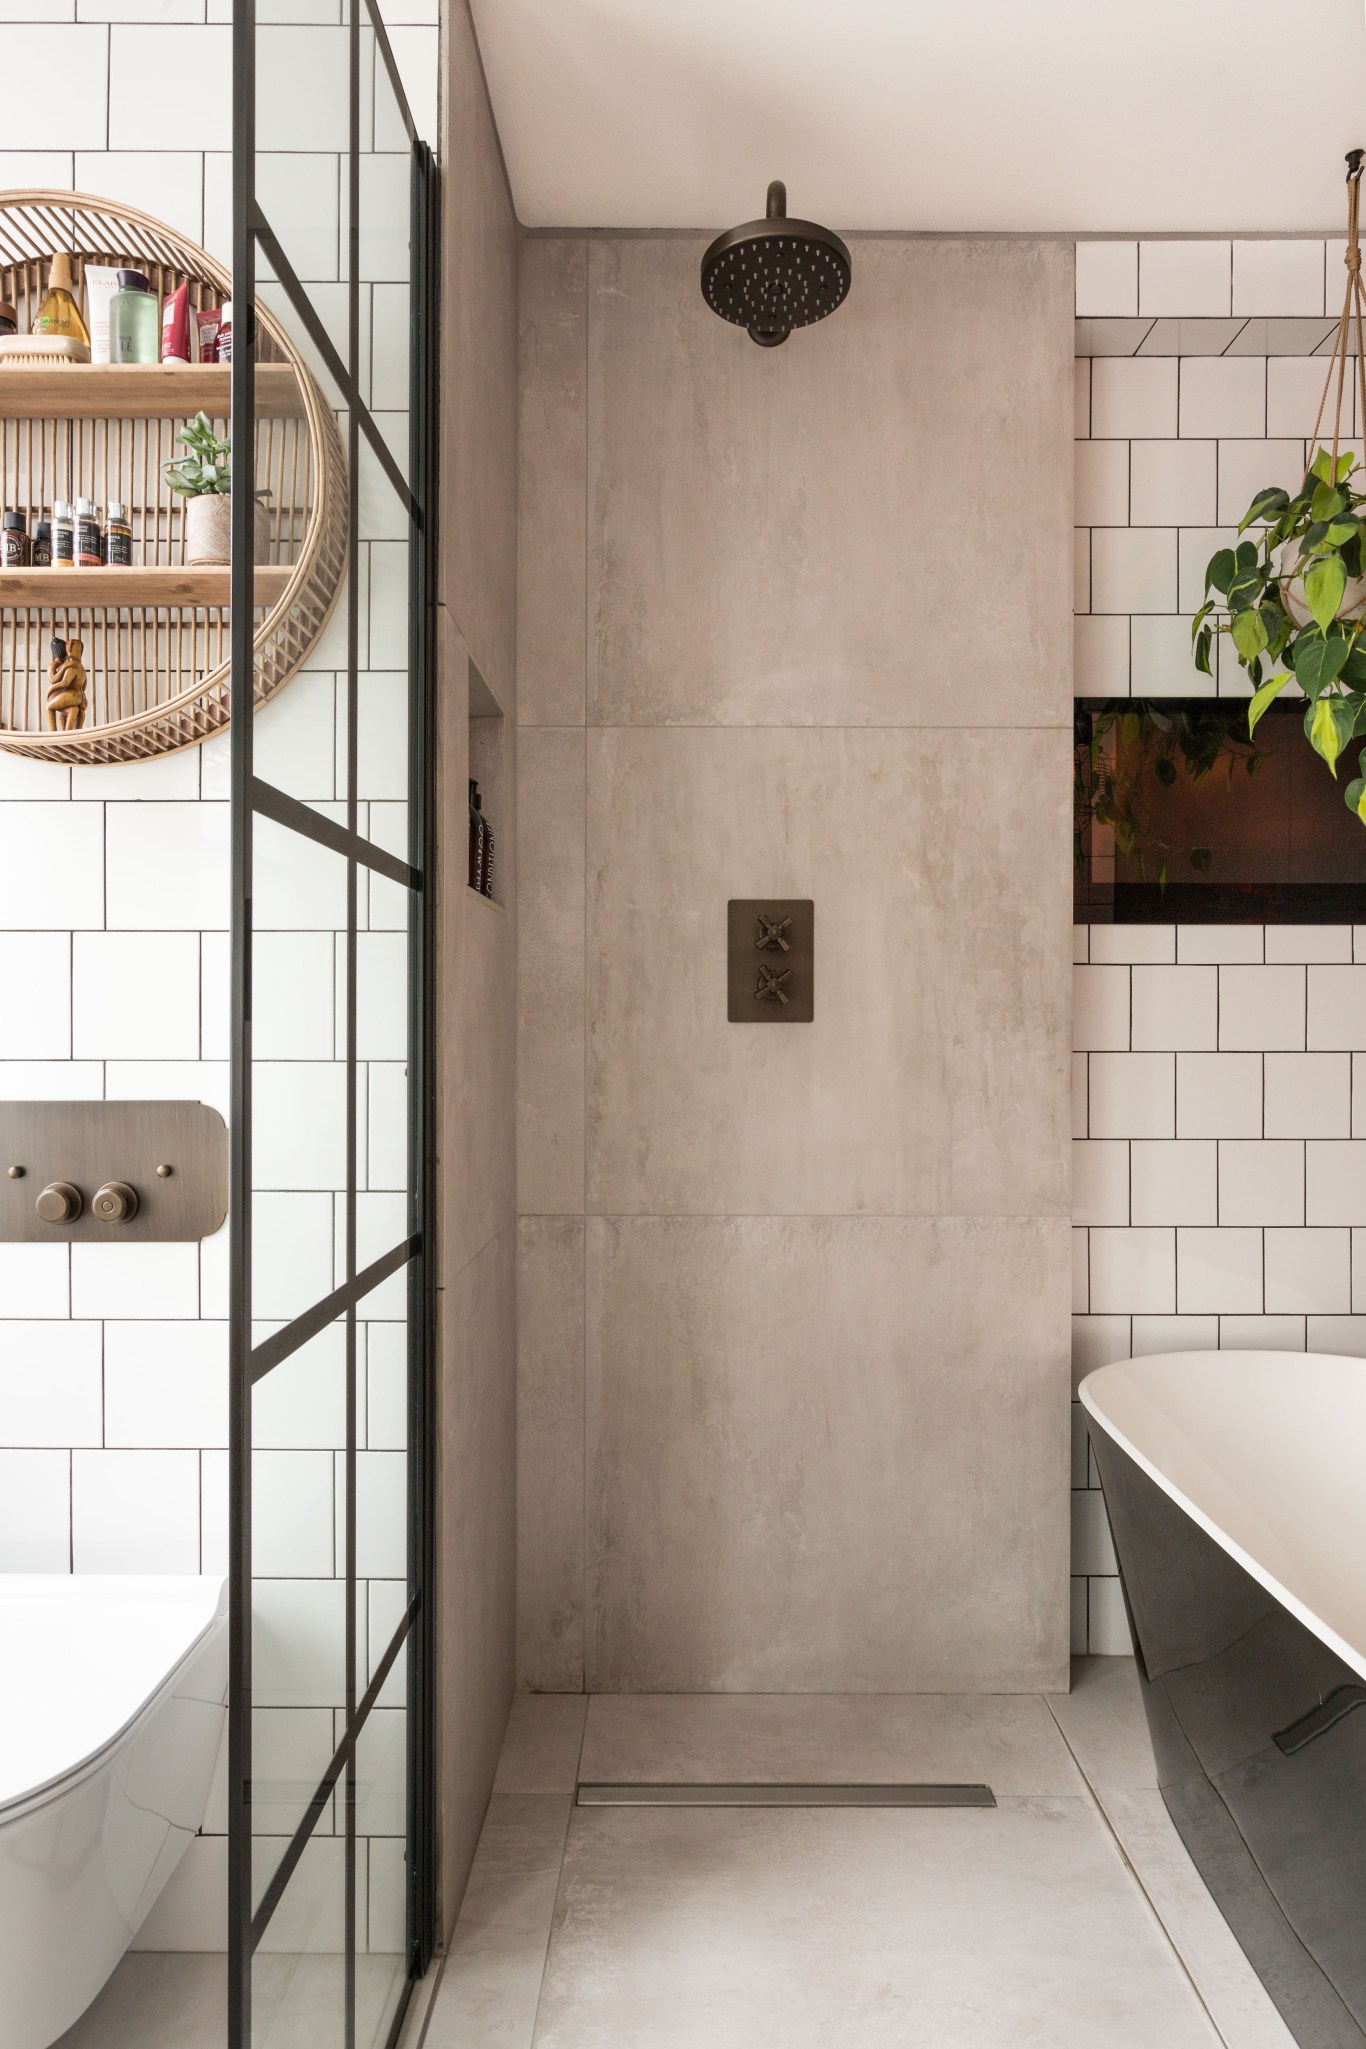
The freestanding shower is screened off from the toilet
- The Screen. Even a small screen (or built-out wall) makes the WC area feel more intimate and private. I used a glass screen with a black grid design – balancing privacy and transparency.
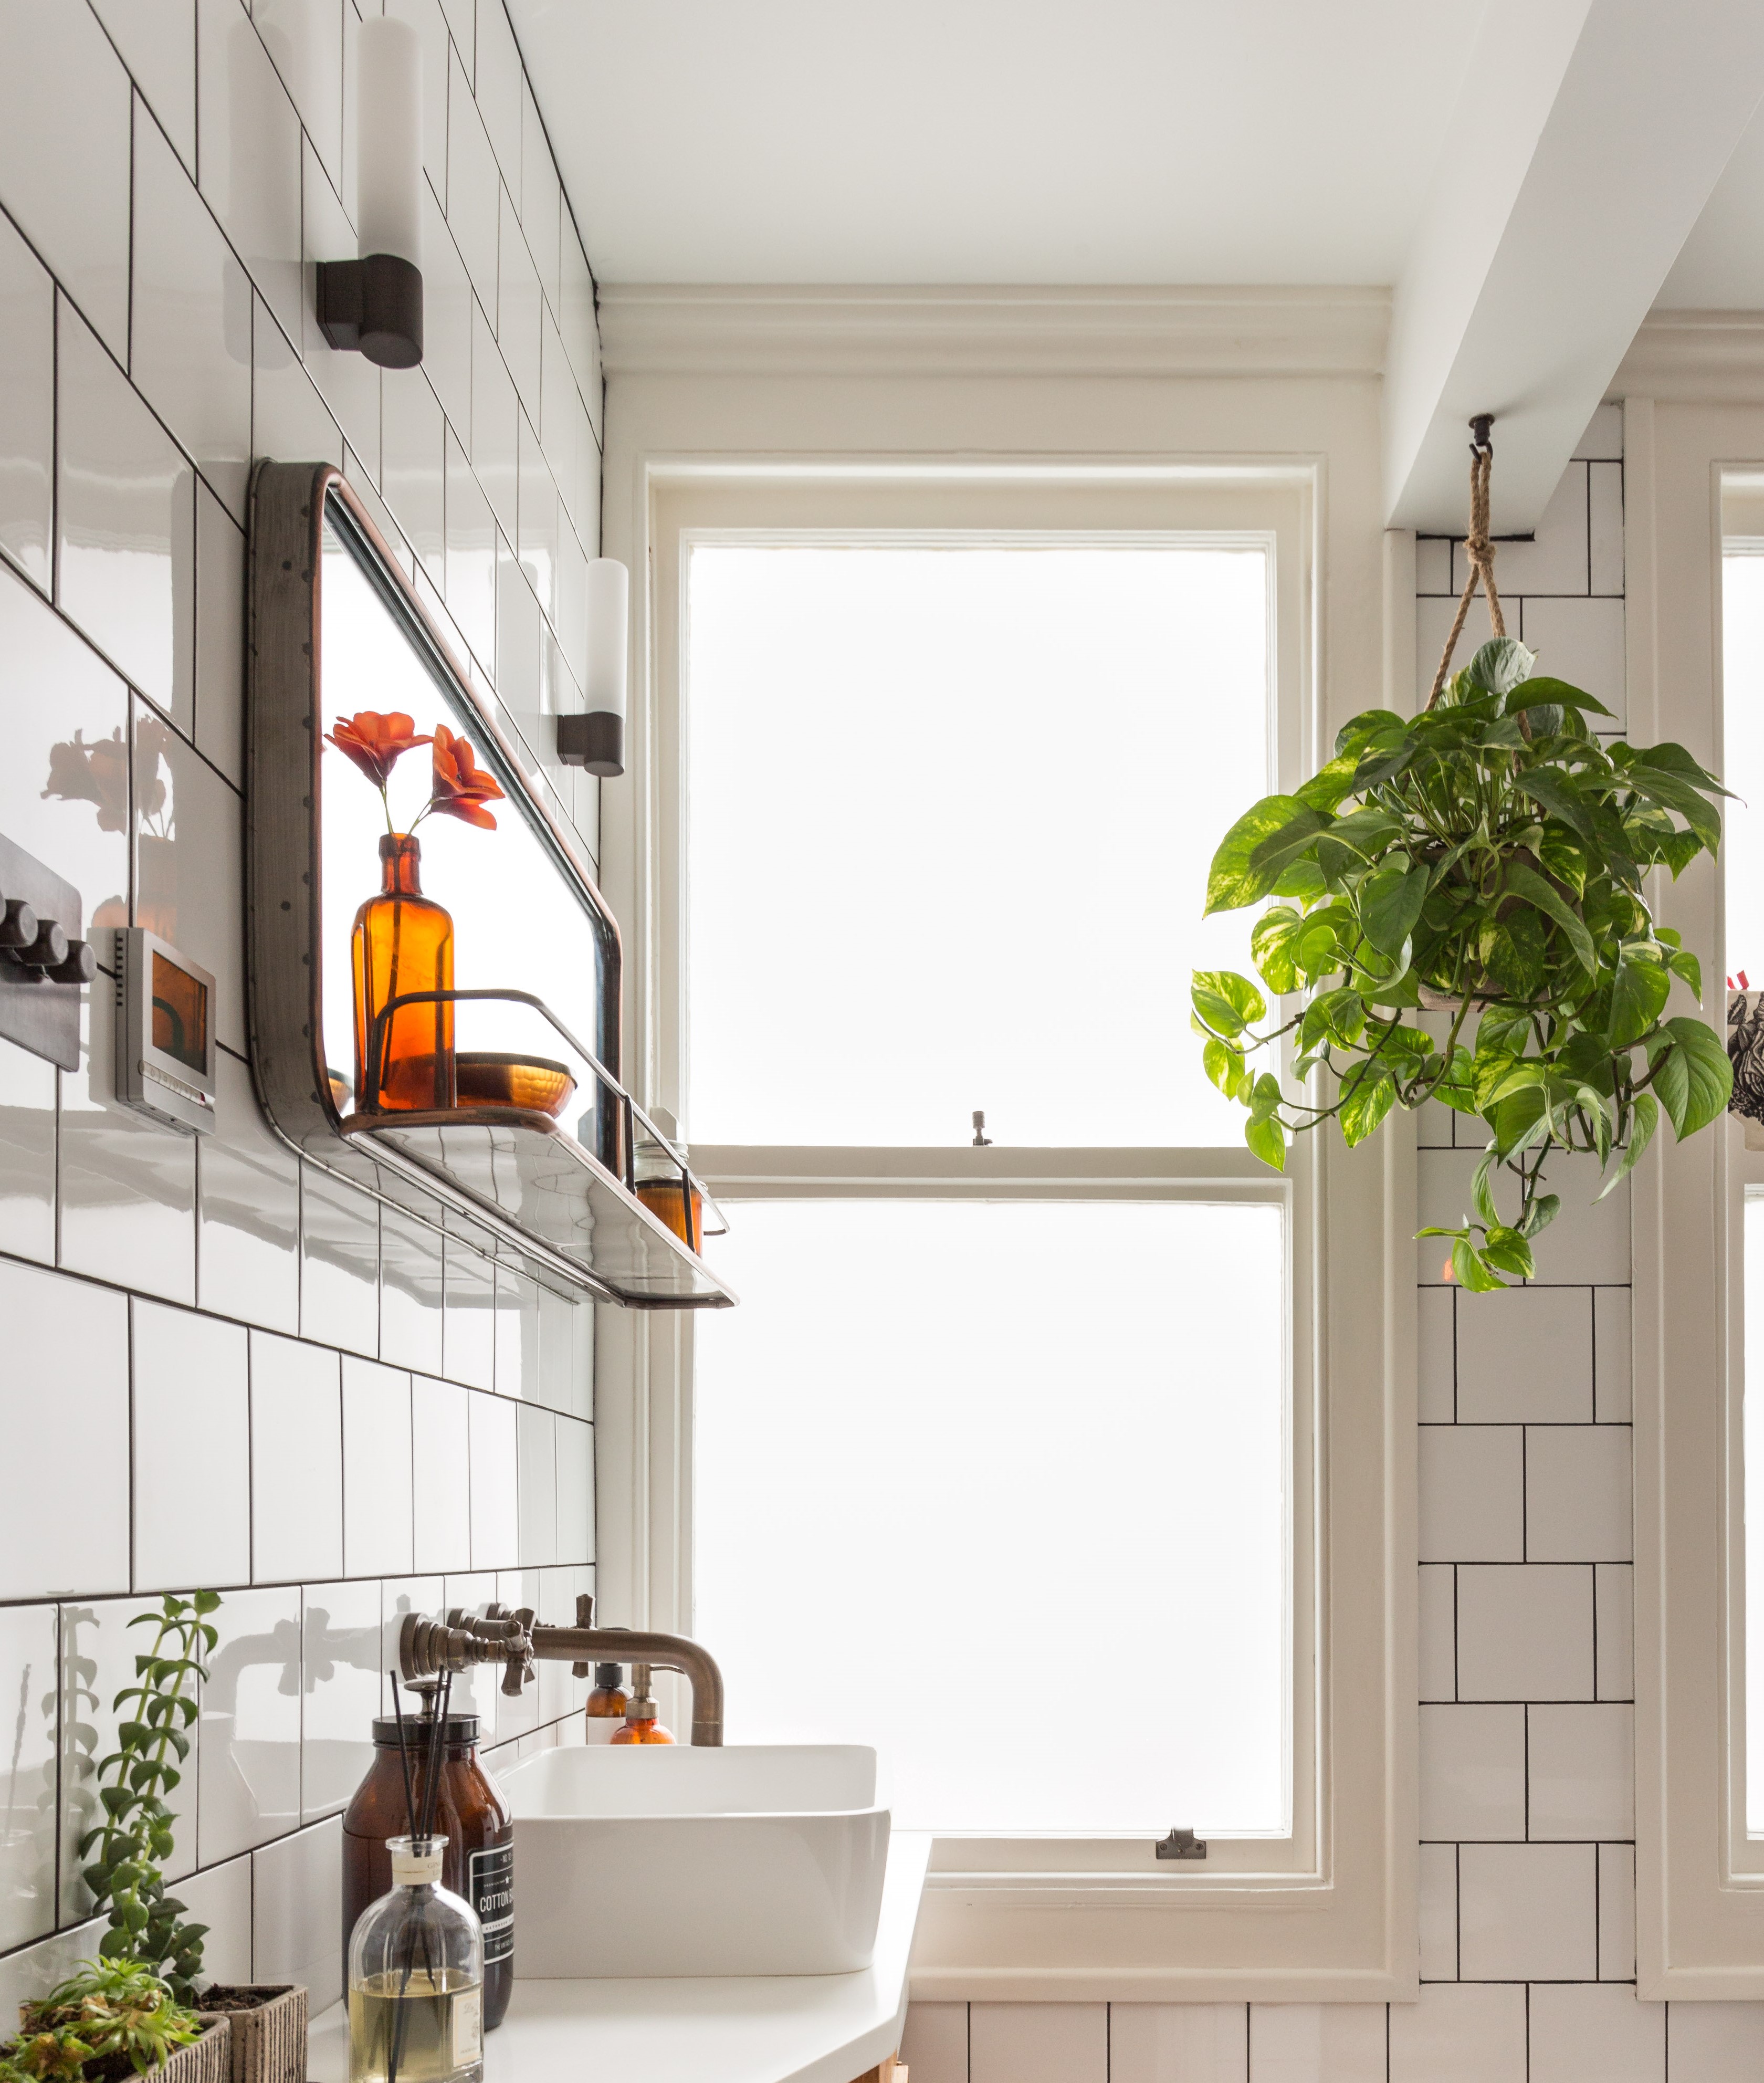
- The Vanity. Wall-hung makes sense in a small space. But I wanted a bit of vintage so cut an old washstand down and fitted it with a countertop basin instead. The one drawer doesn’t provide a huge amount of storage, but there’s room for baskets underneath, adding attractive additional texture. Anyway, who says the key to storage in a small bathroom isn’t to edit your products (work with me here people)! Only keep what you really need or use every day and move the rest to a cupboard/drawer/cabinet elsewhere in your home. The environment will thank you!

- The Details. Don’t forget the usual space-enhancing design tricks. A decent-sized mirror. A variety of (dimmable) lighting options. Wall-mounted taps. I wanted as clean a look as possible so hid my shower riser in the wall, moving the shower attachment to the wall behind the bath. Use large format floor tiles for fewer grout lines, and it helps if you can carry them up the wall too. Include an alcove in the shower for bottles. Put your heated towel-rail in the wasted space above the bath. Keep windows free of blinds and stick to simple opaque glass that’s as transparent as you feel comfortable with. And finally, don’t have too many colours or different surfaces competing for attention. My bathroom’s a simple black, grey and white – apart from one copper tiled wall behind the bath. But because the copper is almost hidden in the alcove it doesn’t interfere with the overall design, and makes the bathing area feels like a separate part of the room.
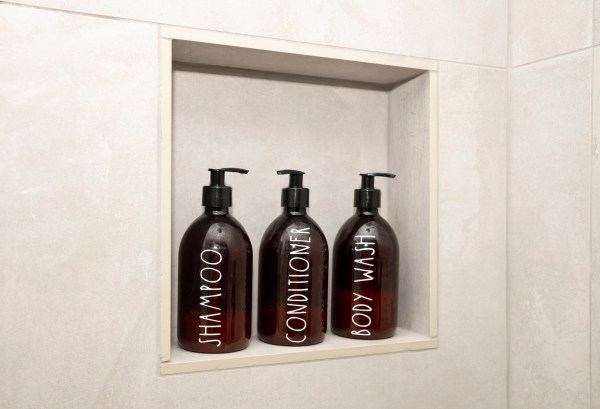
A shower alcove keeps bottles tidy and everything streamlined
My bathroom’s no longer somewhere I want to get in and out of as quickly as possible, which is a much more relaxing way to bookend the day. Now it’s a room to take my time in, a calm relaxing retreat where you can switch off and chill out. (Or switch on and chill out when there’s something good on telly!)
